How to Read a Timing Sheet
Timing sheets can be difficult to read and might look like a different language at face value. In this guide, we'll look through two examples of increasing difficulty from the hit series Naruto. By the end of the guide, hopefully you can get a feel for how timing sheets work and an increased appreciation for the animation process.
Note that Naruto was created past the reign of cel animation; however, the animation process remains the same and the use of timing sheets is universal. In classic cel animation, pencil drawings (douga) are used to paint cels which are then arranged and photographed according to the timing sheet. For Naruto, pencil drawings are uploaded and painted using computer software, and then arranged according to the timing sheet. There will be a video of making Naruto the Movie at the end of the guide so you can see this in action.
Example 1
Let's begin! For the first example, we'll see Kakashi come to life so he can kick some butt. The end result will look something like this:
Kakakashi douga animated with the approximate timing that the series used. Apologies about the watermark.
We'll start off talking about the timing sheet:
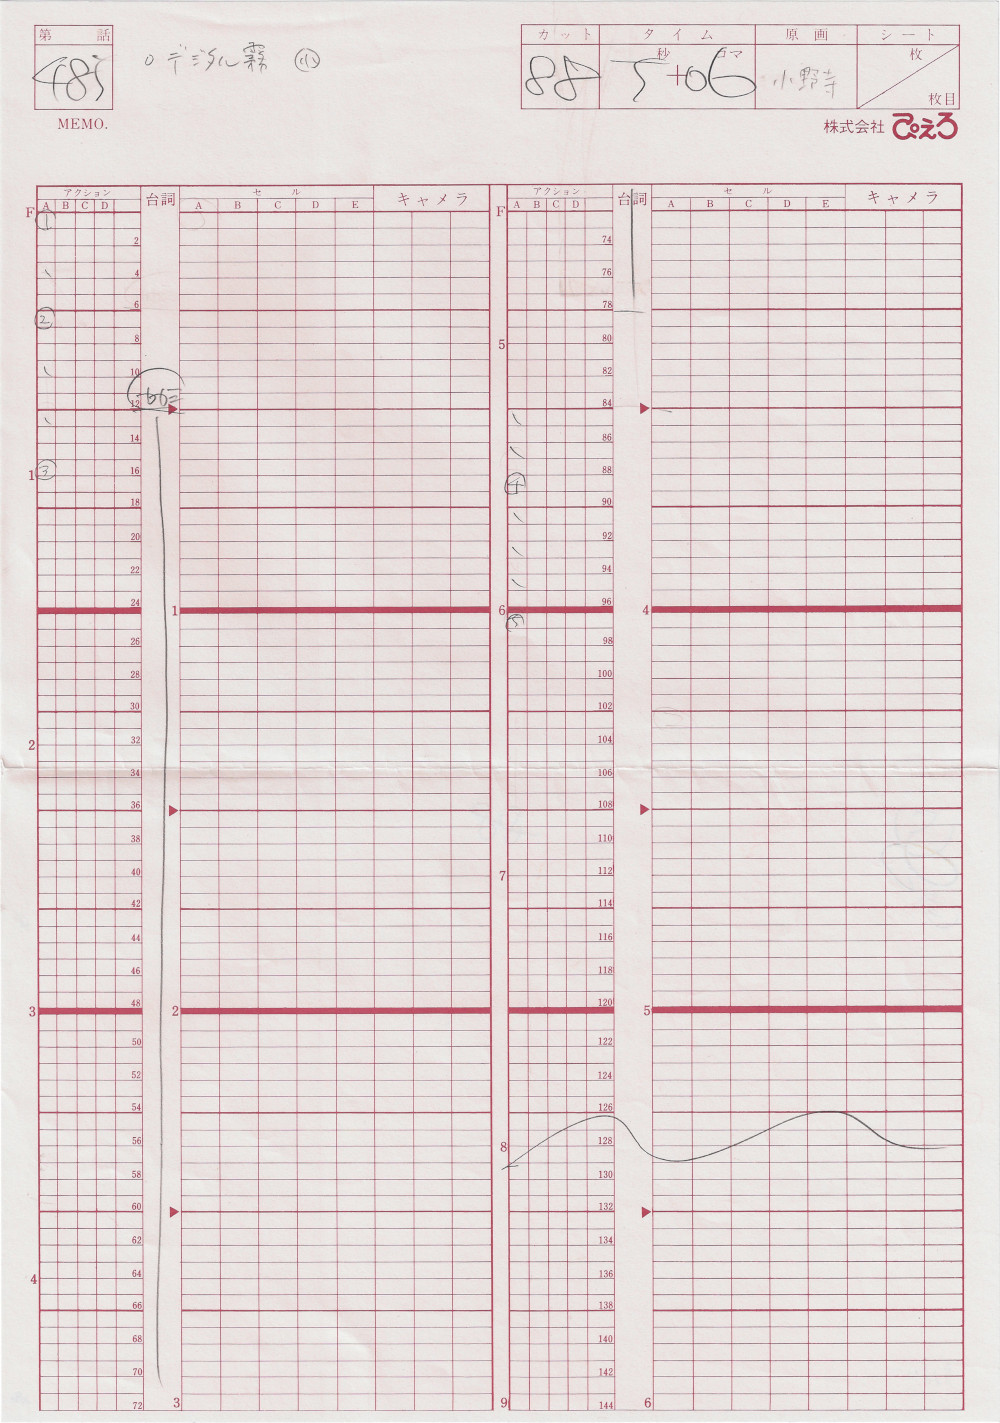
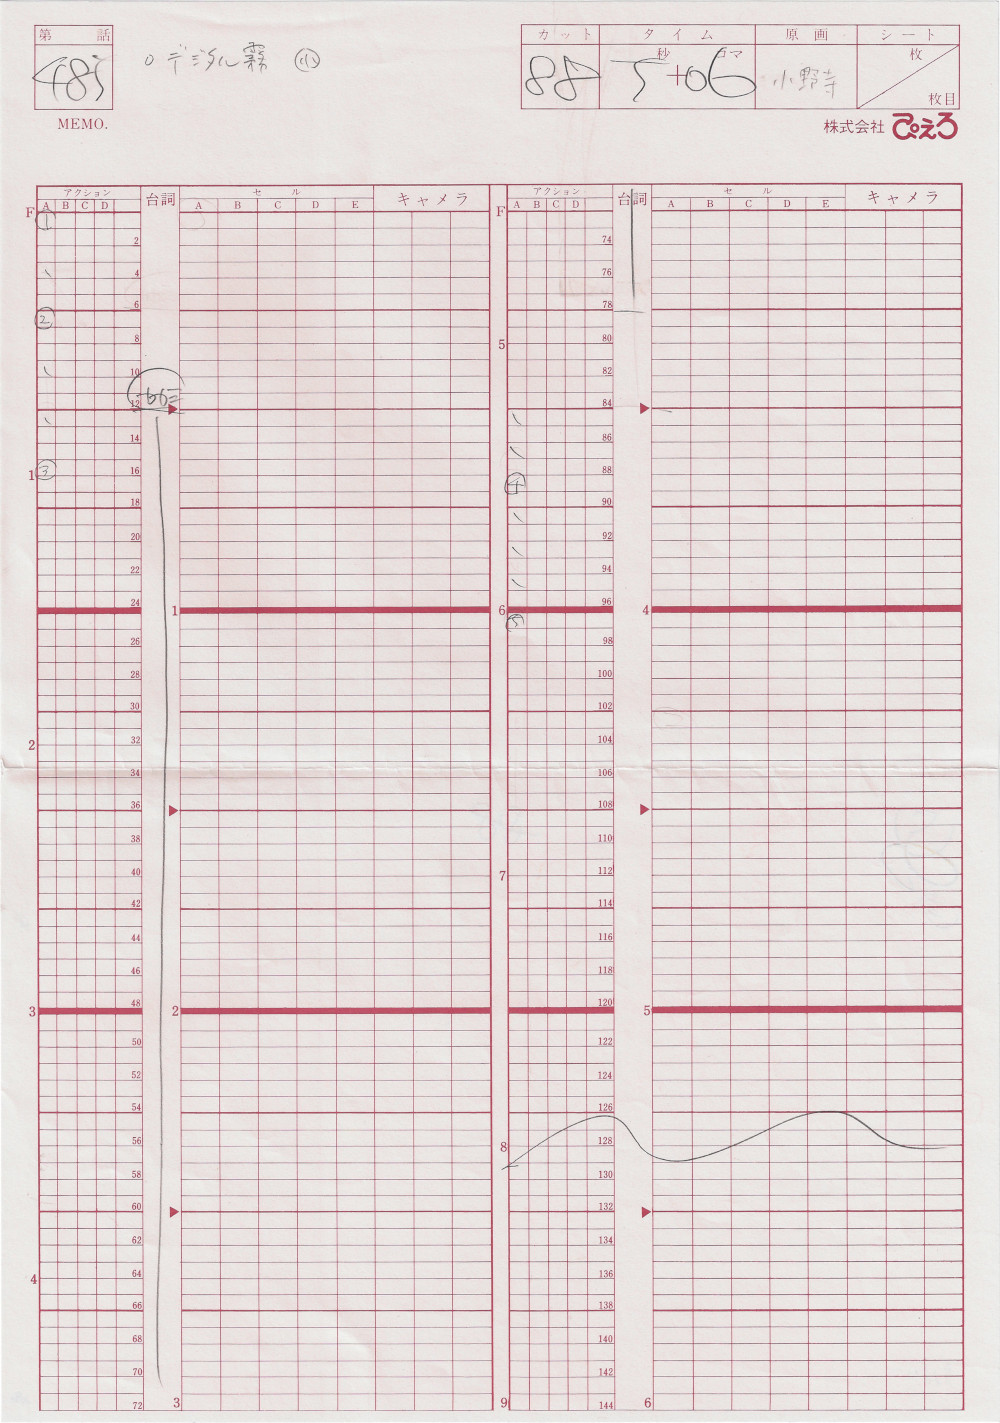
Timing sheet for the Kakashi sequence
Let's take a look around the sheet before diving in. The first thing you'll see is is the 485 in the top left - the number in this area corresponds to the episode number. The 88 to the right corresponds to the sequence number (also called a cut number). Timing sheets are created per sequence; one sequence corresponds to one background being used (storyboards have the same correlation and timing sheets are linked to storyboards by their sequence number). Further to the right is a 5+06, which corresponds to the total time for the sequence (5 seconds plus 6 frames).
Further down will be the guts of the timing sheet. Some things that should catch your eye:
- The columns are annotated with A, B, C, and so on.
- There are some boxes with some tick marks and circled numbers
- Some of the boxes in the right of the column on the left are annotated with numbering 2, 4, 6, and so on
- There are solid red lines sectioning off areas of the smaller boxes
- The solid red lines have 1, 2, 3 and so on in the middle
- There are actually 2 sets of 2 columns here that repeat
The first thing to understand with timing sheets is that animation is done in 24 frames per second. This means that for every second of animation you watch, there are 24 frames that appear to make a fluid video. Each row of the smaller red boxes corresponds to one of these frames. The dark red lines actually section off 1 second of real-time video. Confirm this by looking at the timing sheet again; you will notice that next to the row of small red boxes that have the label 24, the label 1 is on the dark red line; next to 48 is 2, and so on - all the way to the second set of columns with 144 next to 6. This brings us to the first takeaway from this lesson:
Takeaway #1:
- Each row of small red boxes corresponds to one frame of animation
- One frame of animation is 1/24th of a second of real-time video
- Each dark red line cordons off 1 second of real-time video
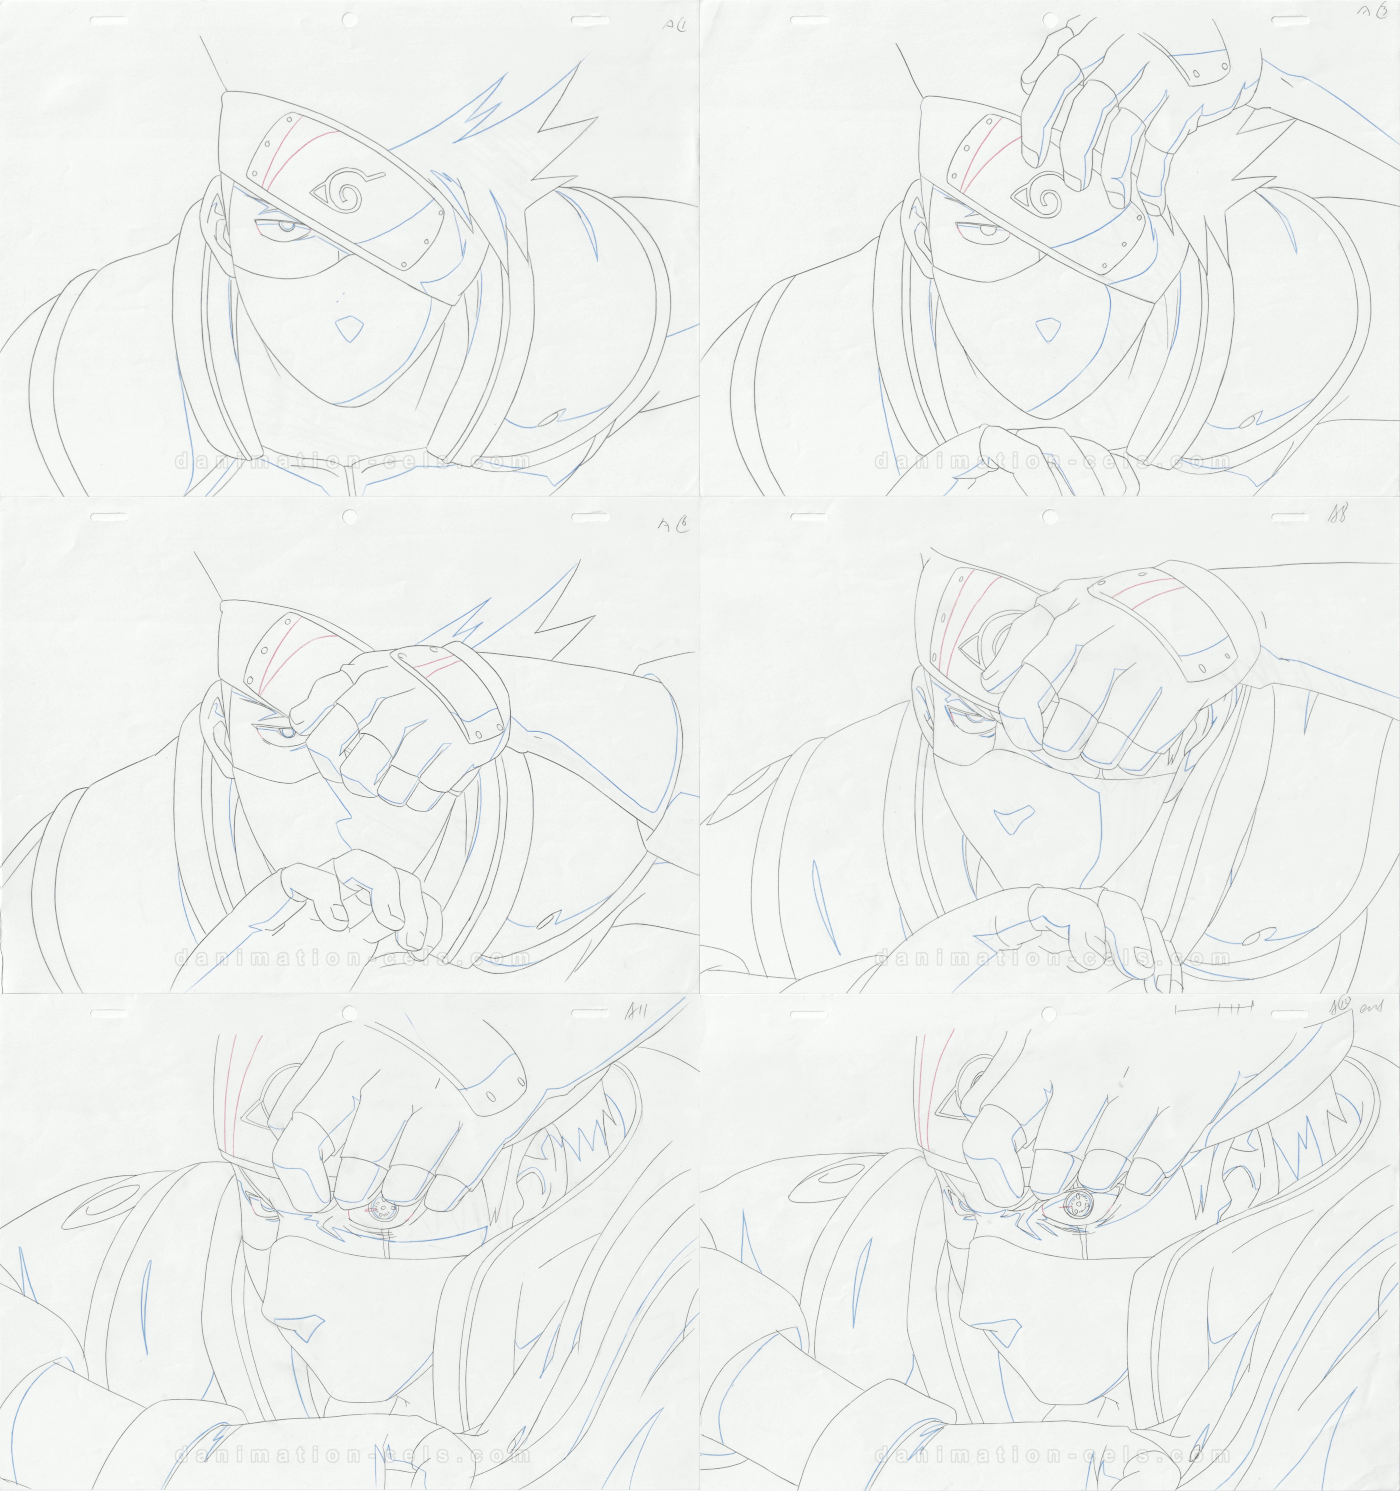
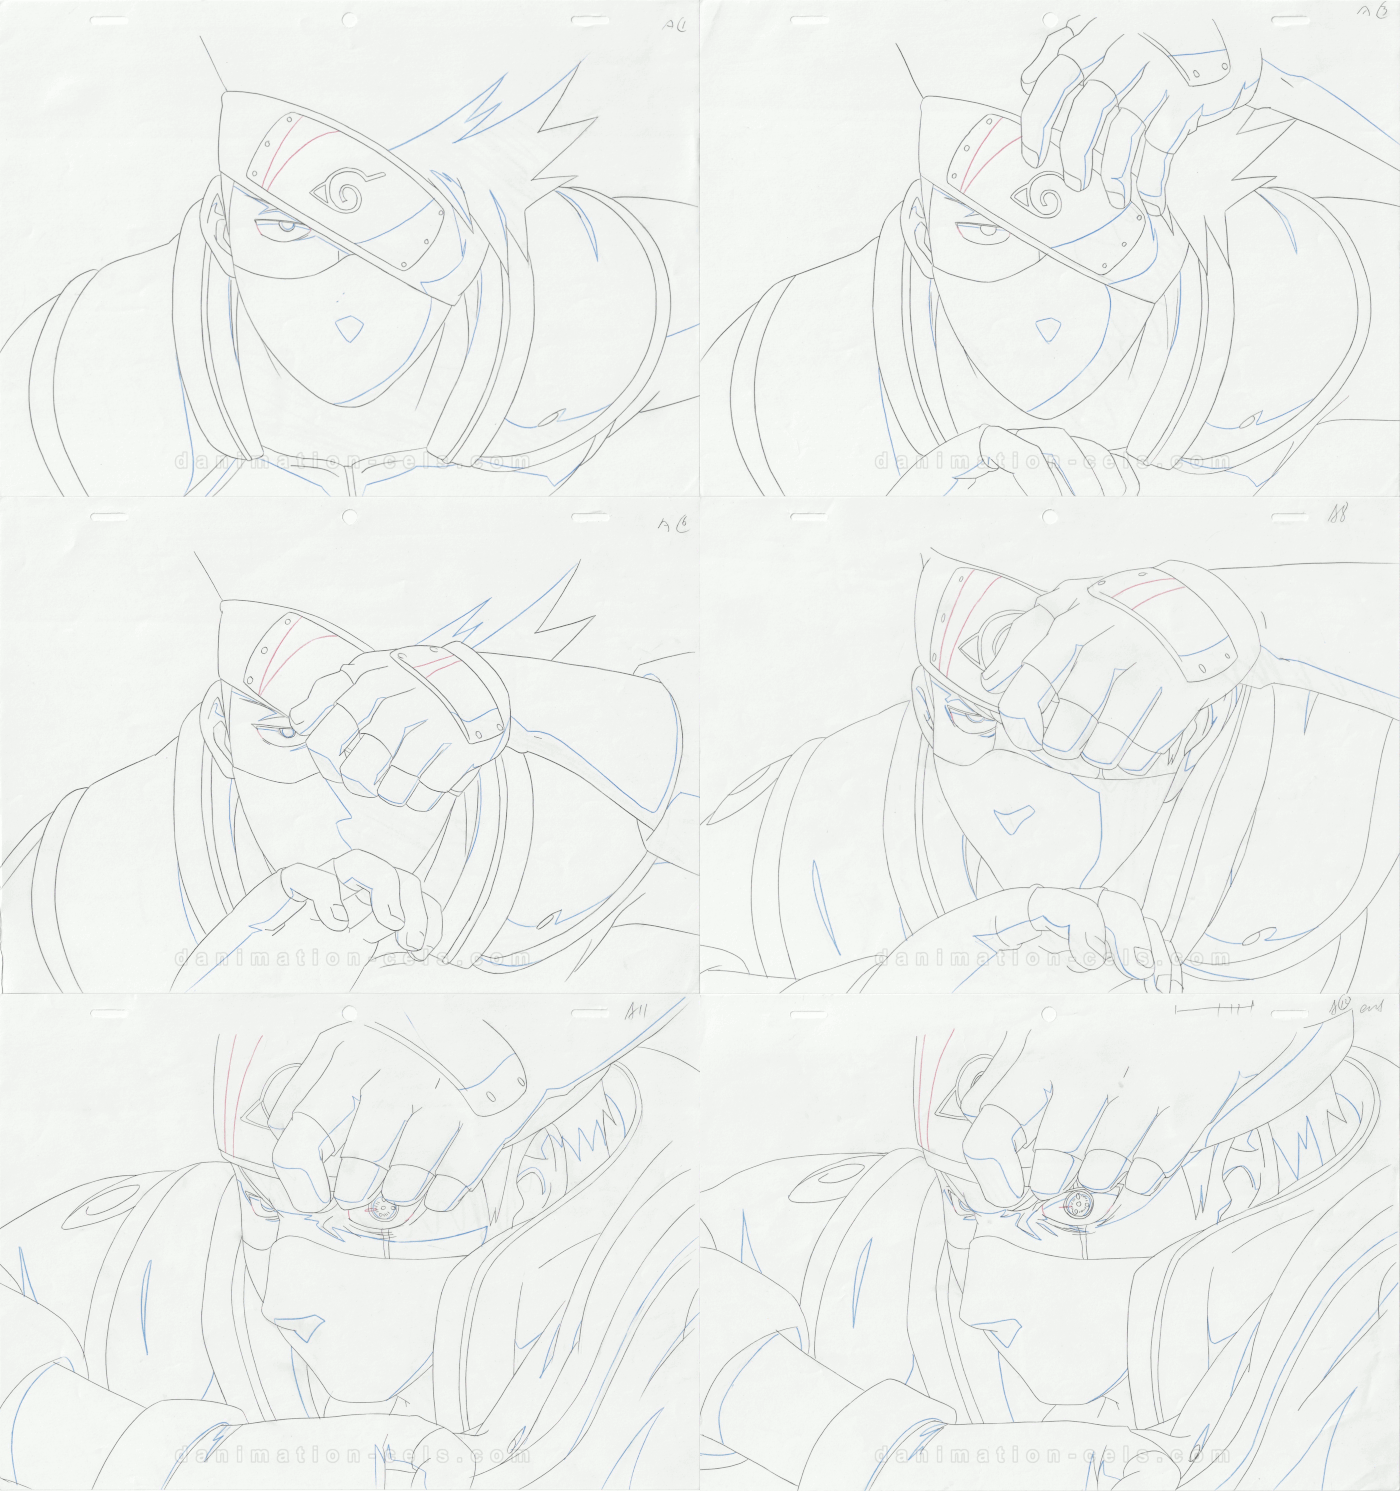
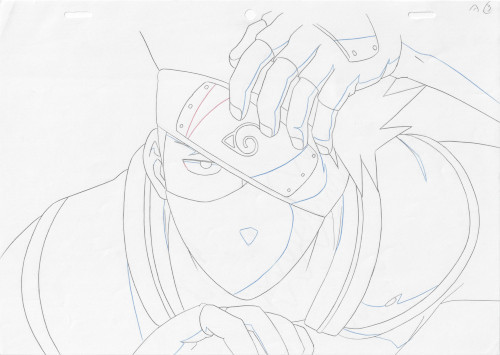
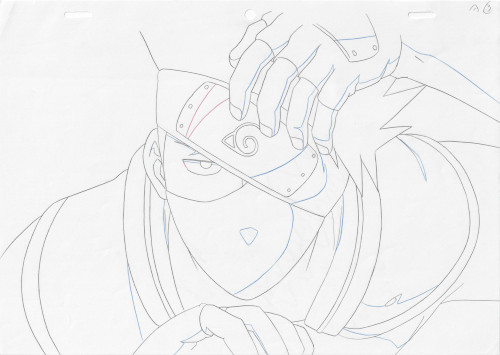
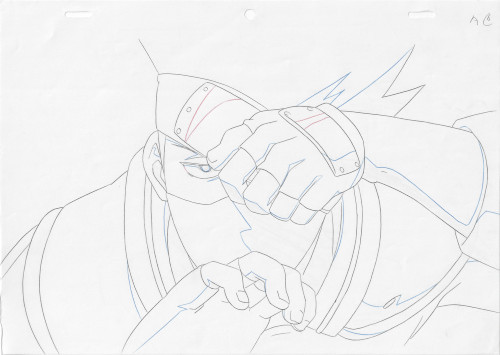
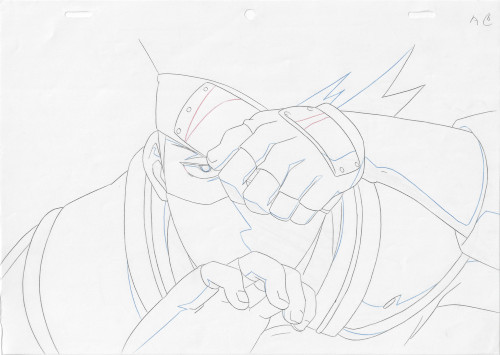
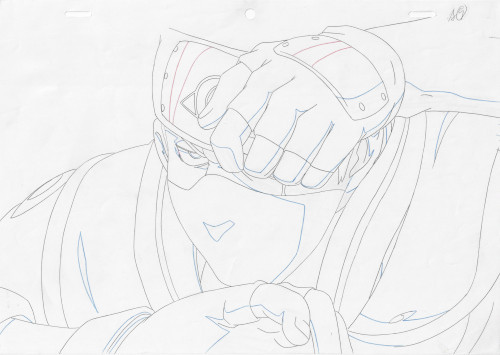
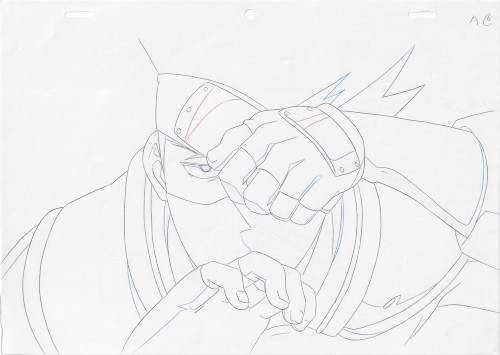
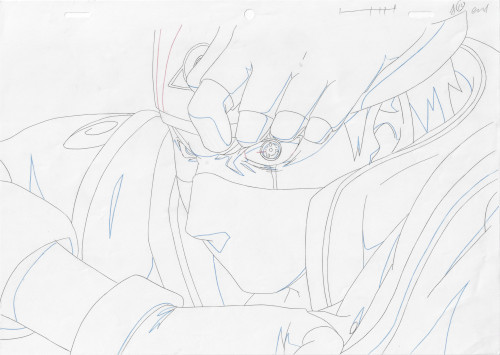
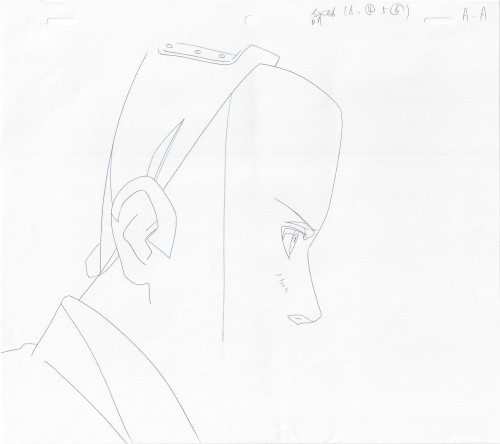
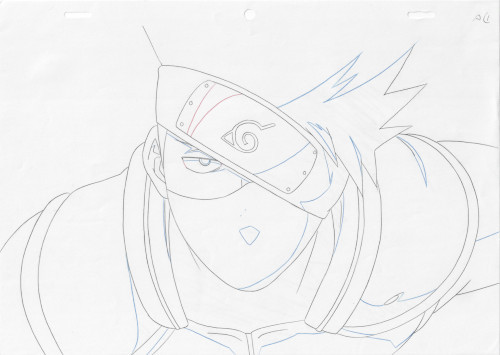
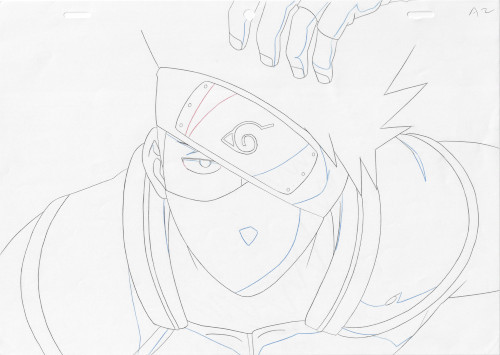
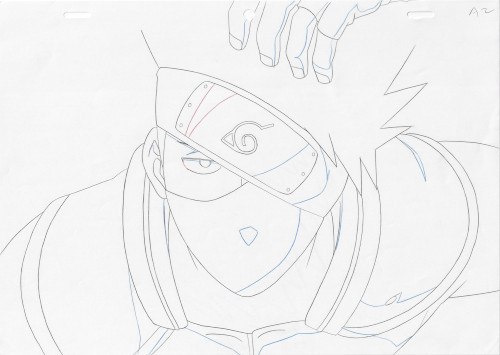
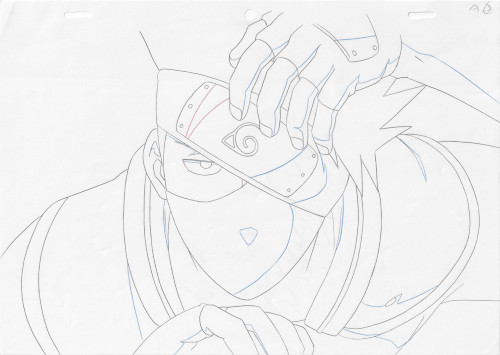
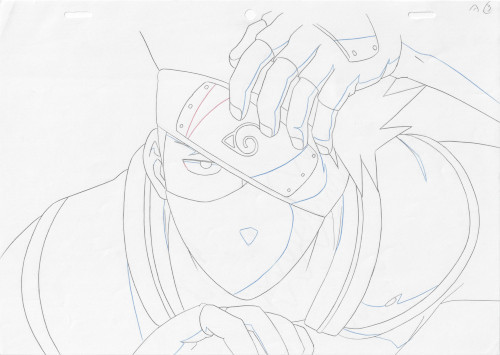
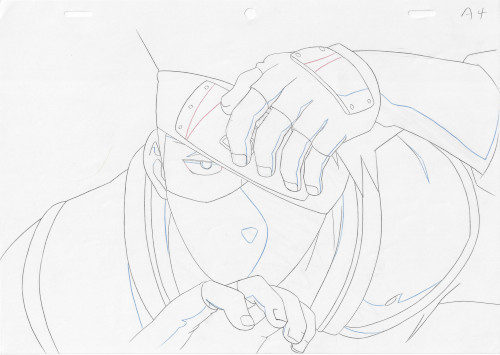
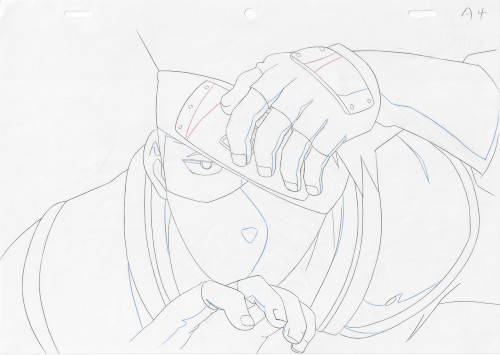
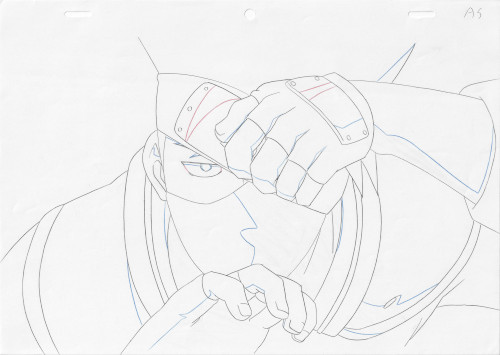
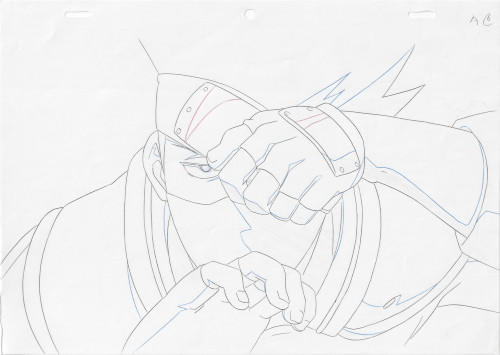
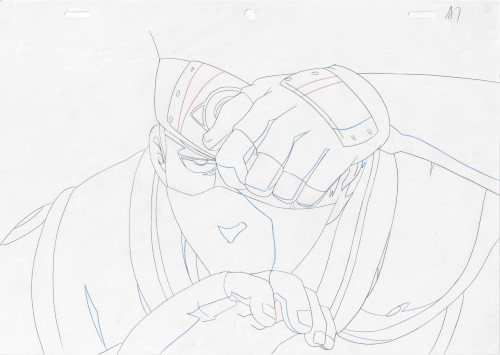
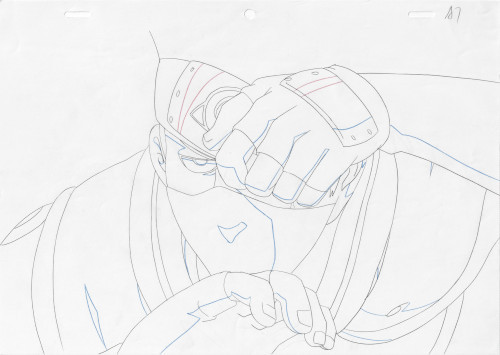
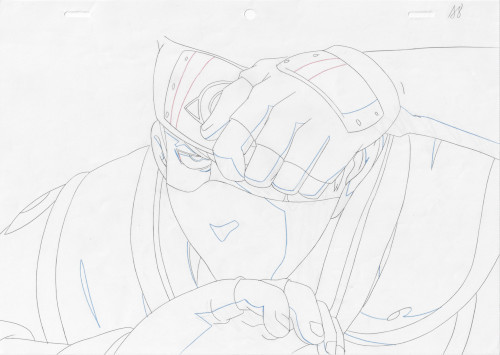
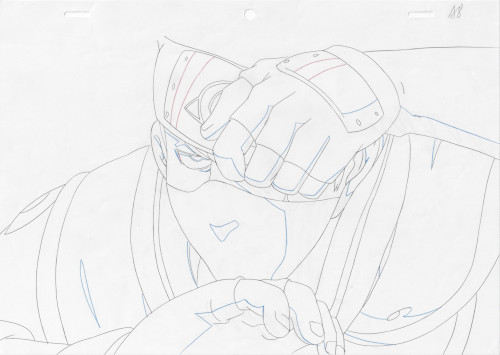
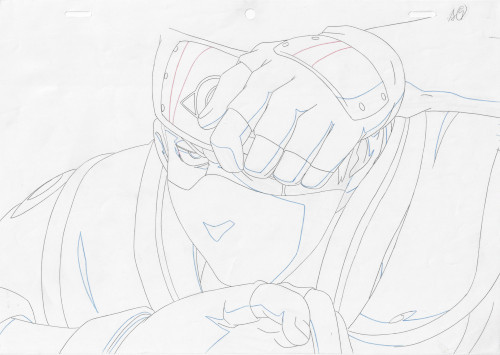
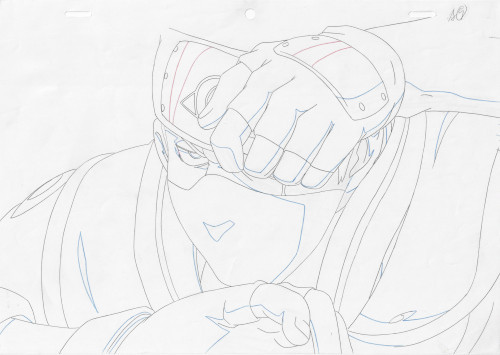
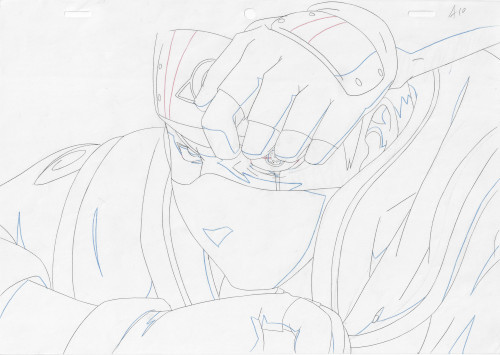
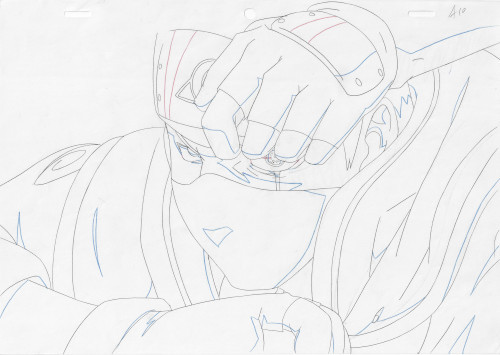
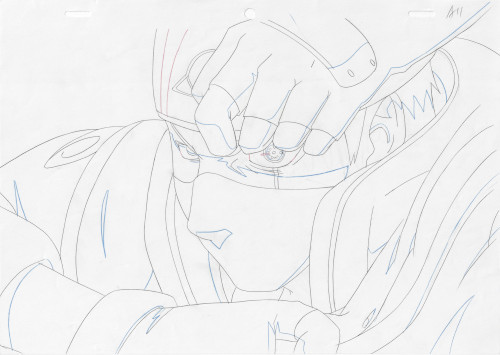
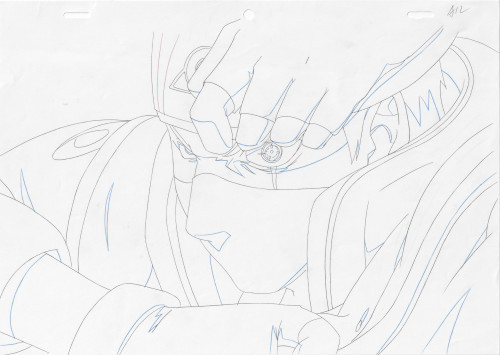
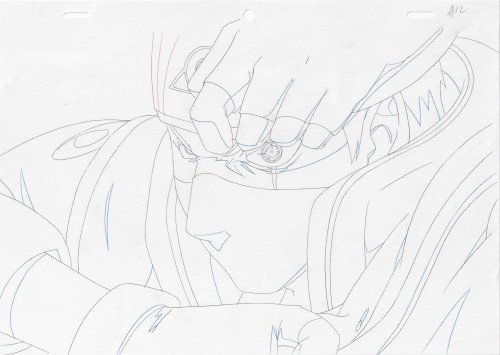
At this point, you need an idea of the animation materials used. Genga is used to depict the key frame and douga are the pencil sketches used for the actual filming. Here is the douga that was used for this sequence (open in new tab for better picture):
  |
  |
  |
  |
  |
  |
  |
  |
  |
  |
  |
  |
 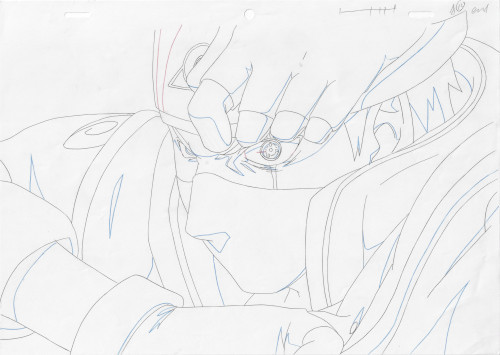 |
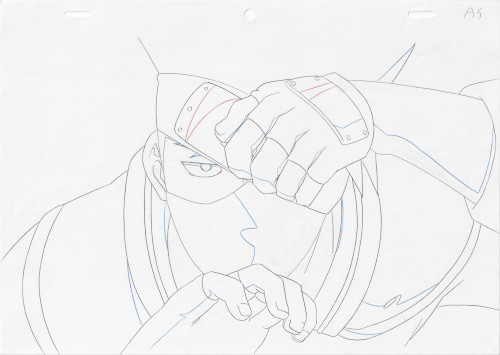
The douga (actual frames) used to make the sequence
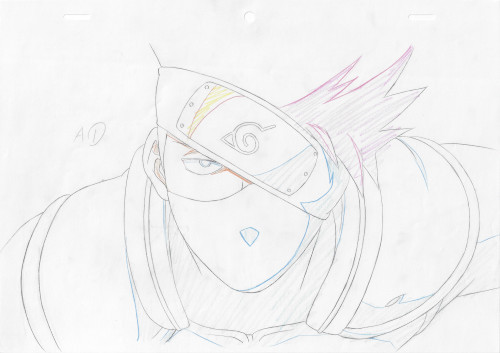
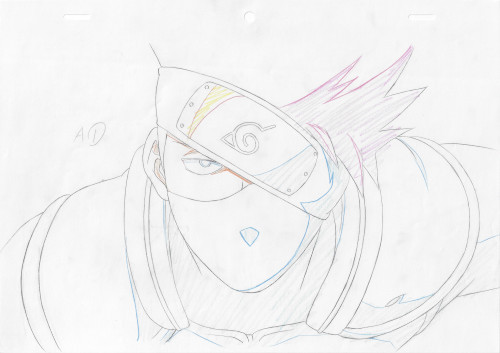
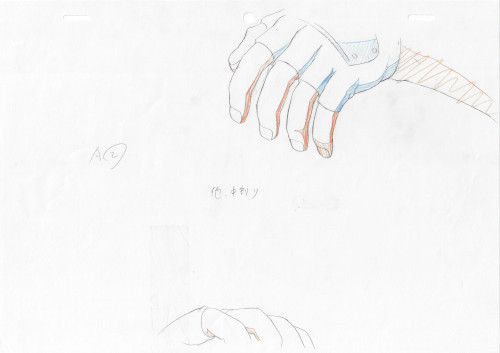
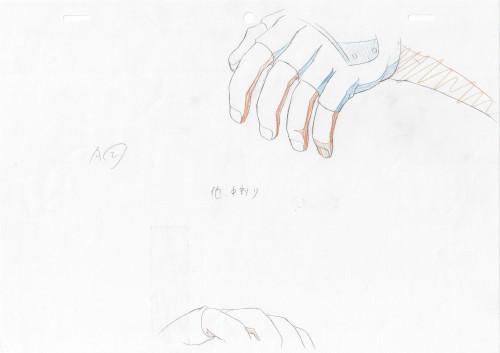
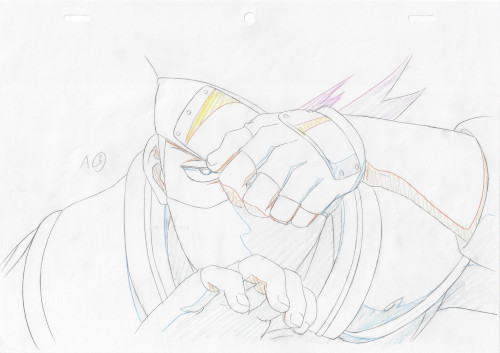
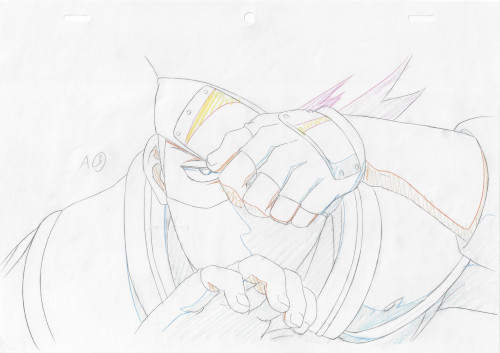
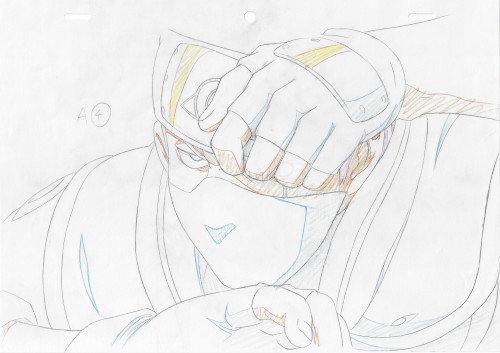
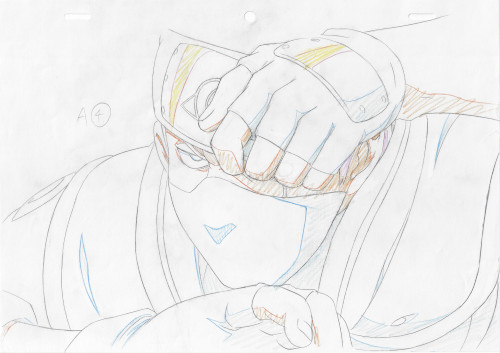
And here is the genga:
  |
  |
  |
  |
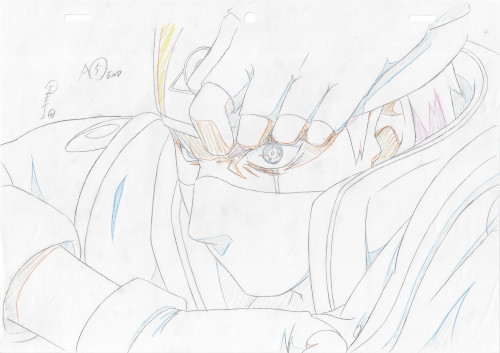 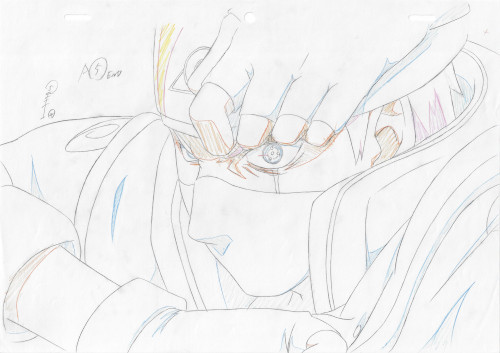 |
Genga (key frame sketches)
So, back to the timing sheet. Let's looks at the columns. There are 4 columns - 2 sets of 1 slimmer column and 1 fatter column. Normally, the slimmer column denotes the key frames (better seen in the second timing sheet example), and the fatter column corresponds to the douga used. In this timing sheet, the person who made it decided just to use one column. There's only one layer here so apparently it was deemed unnecessary.
You should see an A, B, C and so on - this corresponds to the layer that the timing is dictating. The A layer is the layer that is closest to the background (usually) and subsequent layers are closer to the audience in alphabetical order (if there were 4 layers, then the D layer would be at the very top). This example is easy because there is only one layer.
Next, the boxes themselves. You should notice that some boxes have numbers circled in them and some of them have a dash mark. Either of these marks represents a new douga being used. The circled numbers correspond to a key frame and the dash marks correspond to inbetweens (the key frame douga have circles around the number as well). The sequence, reading top to bottom, looks something like:
| 1 | dash | 2 | dash | dash | 3 | dash | dash | 4 | dash |
and so on. Remember that this is 2 sets of 2 columns, so to continue from the bottom, look to the second set of columns (which looks like column 3). For the actual douga that is used, this will correspond to:
| A1 | A2 | A3 | A4 | A5 | A6 | A7 | A8 | A9 | A10 |
This means that A1, A3, A6, and A9 correspond to key pieces of the animation (A13 is the 5th key animation but not able to fit into the table) while A2, A4, A5 and so on correspond to the inbetweens. You can see the douga lineup with the genga (key animation) here, noting that the A1 key frame corresponds to douga A1, A2 key frame with douga A3, A3 key frame with A6, and so on:
Genga (key animation) |
Douga (animation used) |
|
A1 key frame drawing |
A1 douga |
|
A2 key frame drawing |
A3 douga |
|
A3 key frame drawing |
A6 douga |
|
A4 key frame drawing |
A9 douga |
|
A5 key frame drawing |
A13 douga |
Douga and genga next to each other
Remember: each small box corresponds to 1 frame and 1/24th of a second of real-time video. So the sequence started off with a new animation every 3 frames (and 3/24th of a second), holds the A6 for a while, and finishes off with a new animation every 2 frames (and 2/24ths of a second).
Lastly, the solid line drawn straight down means hold that frame. The squiggly line in the last box means that the animation stopped before that time (this sequence is 5.25 seconds long as 6 frames is 1/4 of a second in real-time).
So this brings us to the second takeaway:
Takeaway #2:
- The left-hand slimmer column normally denotes the key frames and the right-hand shows the actual douga used. However, this convention was not followed for this timing sheet since it was only 1 layer.
- The A, B, C etc. columns correspond to the layer for that frame.
- The numbers and dash marks correspond to a different douga (or cel) being used for the shot.
- Key animation frames have their number circled in the timing sheet
- Inbetweens are represented as dash marks.
- For the sake of counting for the douga, each mark represents a +1; so for the circled 1 and then the next marking being a dash, the dash corresponds to douga A2. The following circled 2 actually corresponds to douga A3.
- Not all of the timing sheet is used, and the sections not used are marked off.
Finally thoughts about this example:
- The convention that each mark represents a +1 in the douga is not normal; usually the fatter column explicitly calls out the douga number. It is not always incremented; for example, during a talking sequence (below), several frames can be reused back and forth to mimic talking. This odd behavior is a consequence of only the key frame column being filled in and the sequence being linear.
- It's still a solid example on how to read a timing sheet; different timing sheets might need to be read in a different way.
And that should wrap up this first example! The douga is uploaded in order, has color filled in, and is then timed according to the timing sheet. For cels, the same applies - the cels are colored, photographed, and arranged according to the timing sheet. Unfortunately the computer program used to make the gif cannot use the exact timing, but the gif is roughly in proportion to what the timing of the actual animation would have been. This example should have given you a good understanding of some of the basics of timing sheets.
Example 2
Next let's step up the difficulty and look at a 3-layered shot of Sakura talking:
**Edit ahhh it's too big. it's this image: https://danimation-cels.com/images/naruto/sakura-set-2/sakura-2-gif-small.gif sorry I will figure out how to get that on here
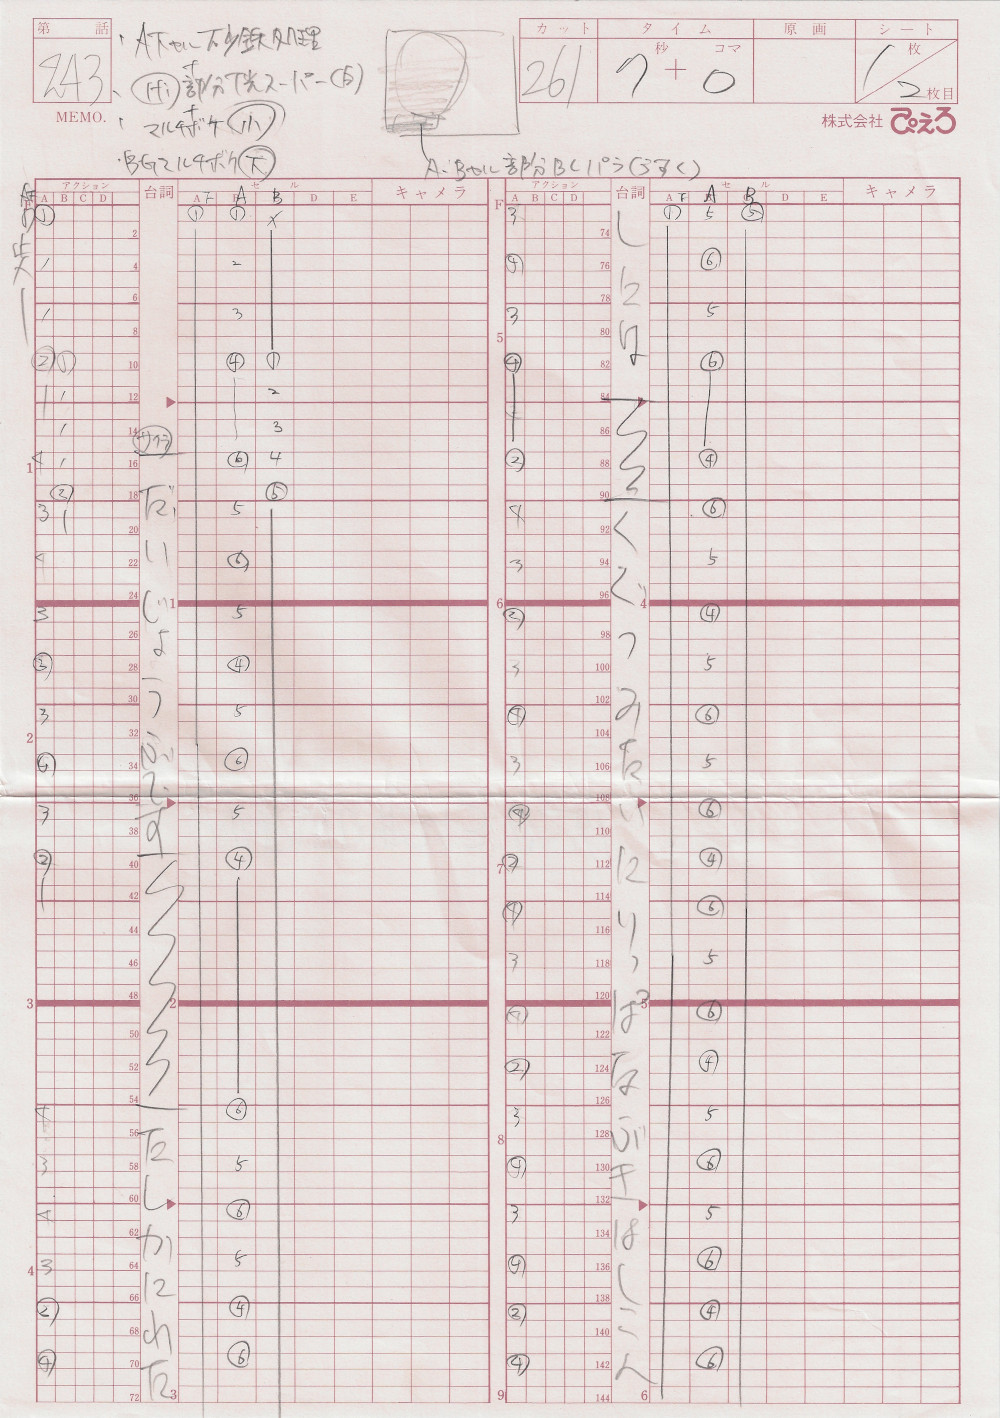
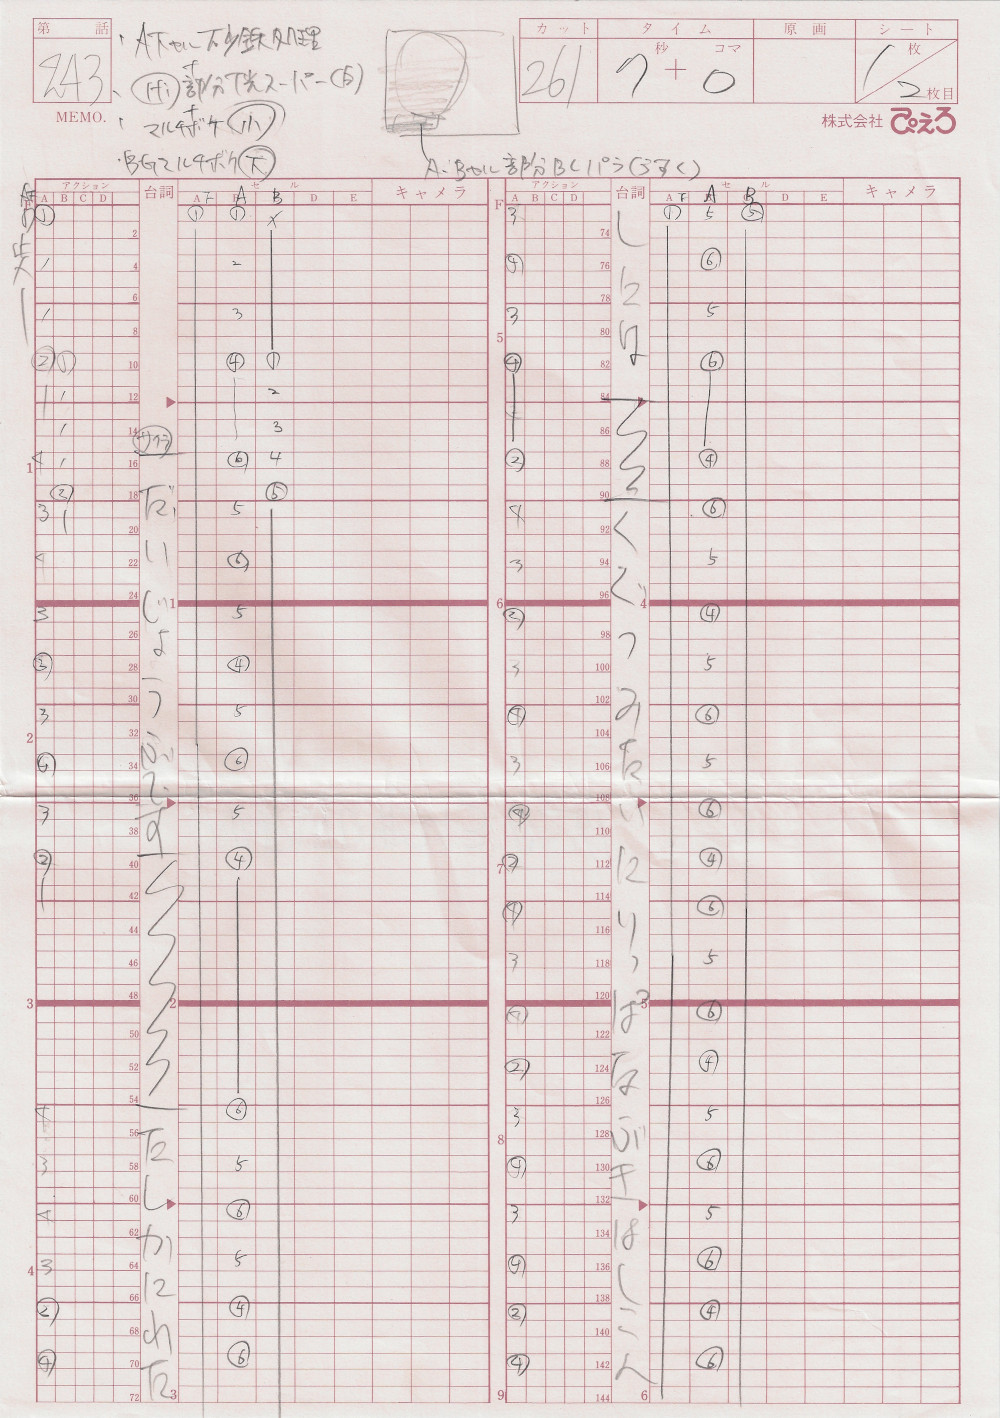
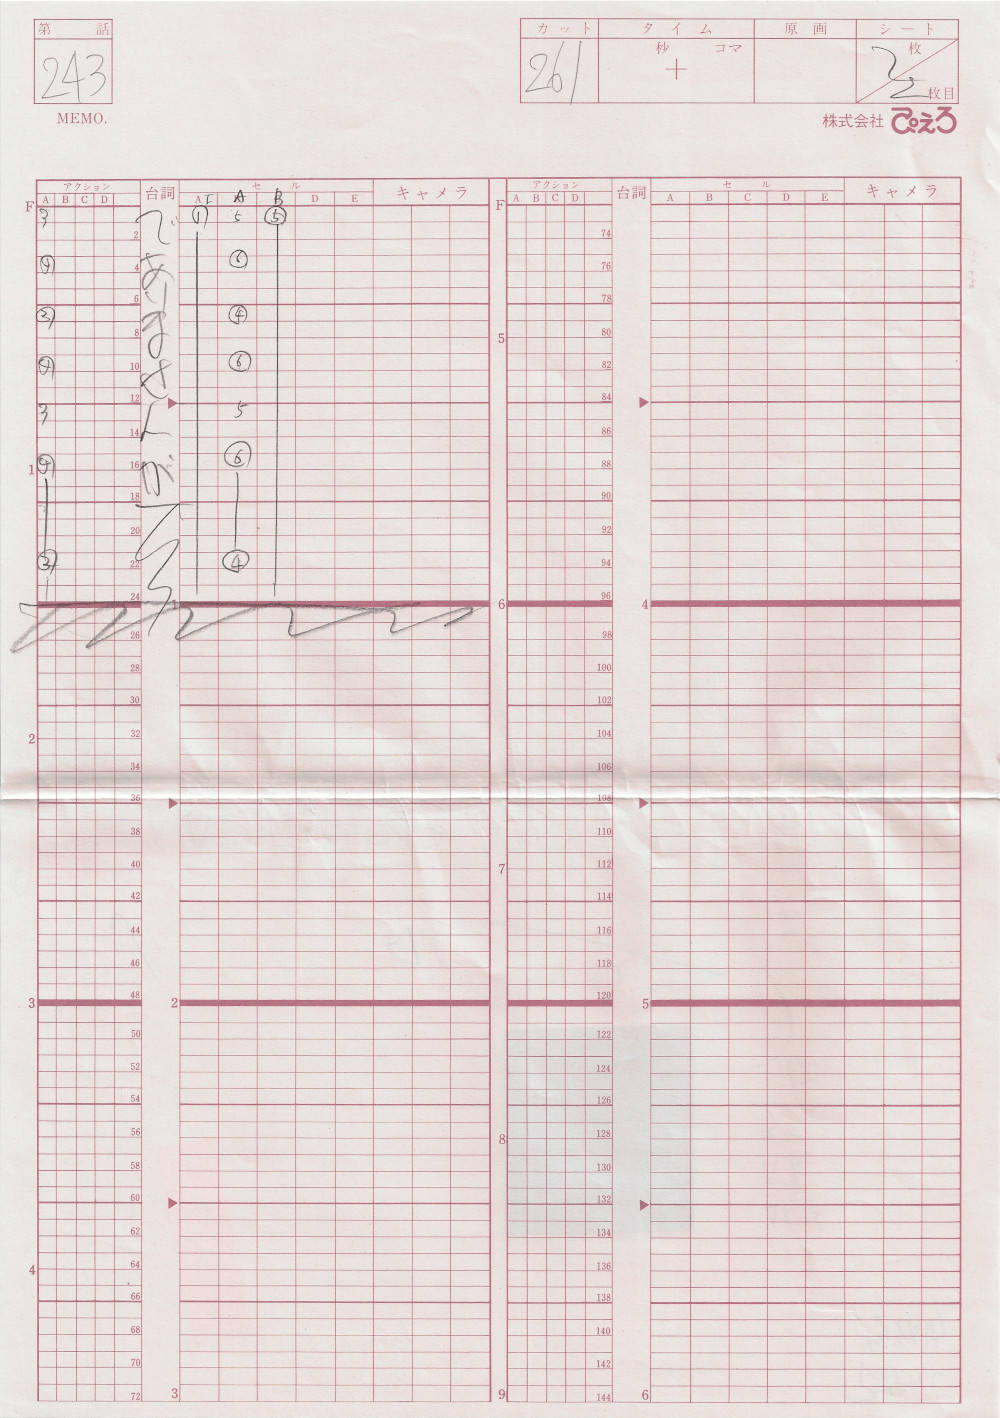
So what does a timing sheet look for something like this? Trick question - there's actually 2 of them:
A little more difficult than the first one.
The good news is that this timing sheet abides by the same rules as the first one:
- Each timing sheet is 6 seconds.
- Each box is 1 frame, 1/24th of a second, and the solid red lines section off 1 second.
- The left-hand slimmer column denotes the key frames.
- The right-hand fatter column corresponds to douga.
- The columns A, B, C etc denote the layer.
Another oddity with this timing sheet is that there's an additional layer on the timing sheet. It's a static layer. For the sake of this exercise, we will focus on just the A/B layers. I will not mention the C1 layer, but keep in mind that it is there throughout the entire sequence. I believe that this layer is a top layer, however for the sake of the gif, it was put in the back. Without going back through and confirming, just assume that this back layer was supposed to be in the front.
At frame 1, only the A1 douga is there. You can see in the left-hand column that this corresponds to the A1 key frame, and the right-hand column actually shows 1 under the A column. A2 is at the 4th frame and A3 at the 7th frame. These are inbetween frames and have a dash mark denoted in the key frame column.
The 10th frame is the first instance of the B layer - which is B1. For this part, the animators decided to split out hair from the face, which leaves the face on the A layer and the hair on the B layer. You can see that the B1 frame has the key frame B1 as well. For this same frame, the A4 douga is used - which corresponds to the A2 key frame. The below table has the frame pieces (open them up in a new tab to see the full image):
| Frame | A Layer Key Animation | B Layer Key Animation | A Layer Douga | B Layer Douga |
| 1 | 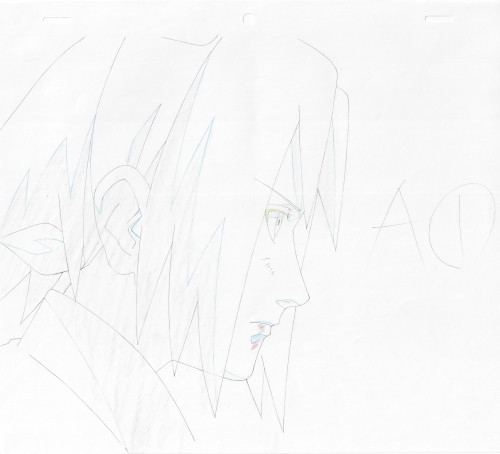 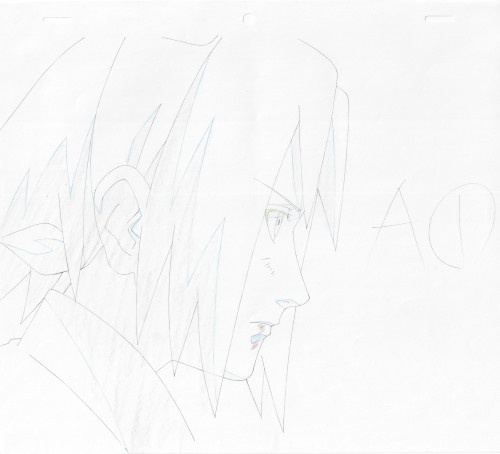 |
N/A | 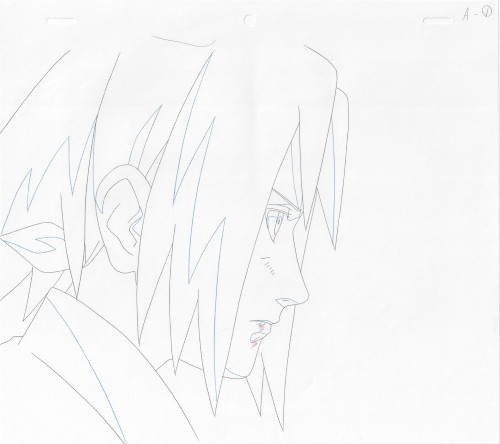 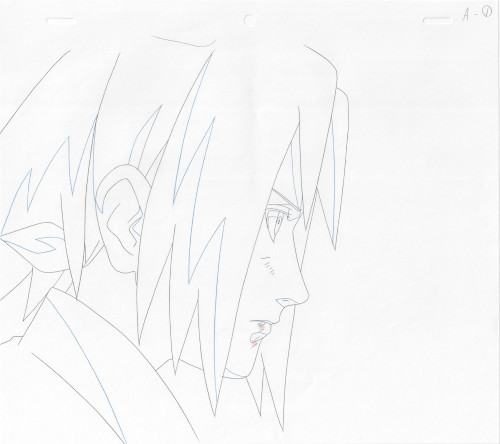 |
N/A |
| 4 | N/A | N/A | 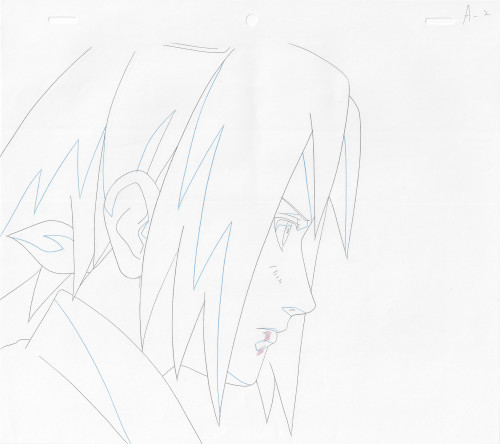 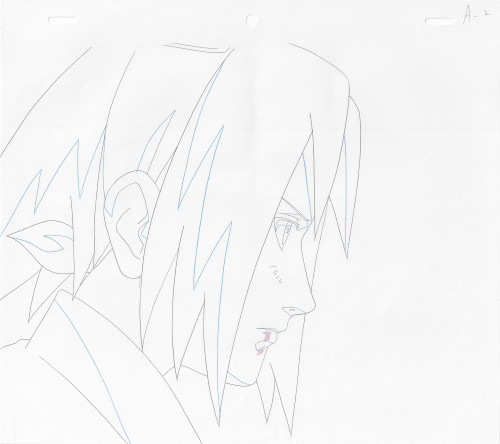 |
N/A |
| 7 | N/A | N/A | 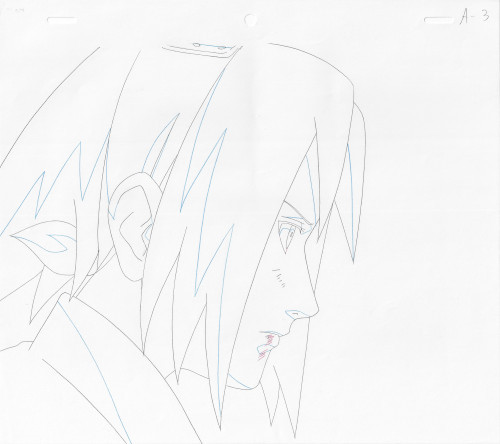  |
N/A |
| 10 | 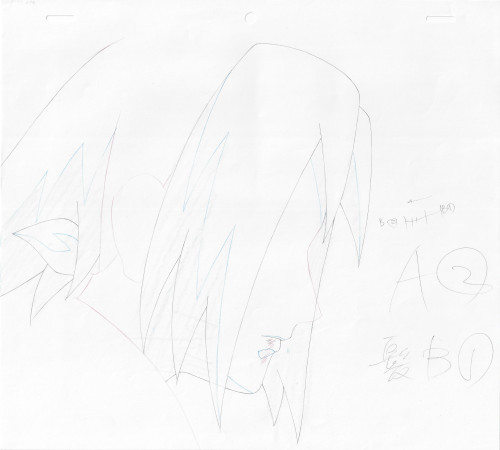  |
(same piece of genga as A layer) |
 |
It gets a little tougher because, as you can see, the A layer was actually split up further into 2 pieces. This is not something found in the timing sheet itself. The base face layer is labeled AA and the top of the douga has an indication to use it for the A4, A5, and A6 layers to make the whole A layer. Confusing! Sometimes this base layer is also labeled with a ' character (e.g. A' instead of AA).
The rest of the timing sheet is read in this manor. Each shot is the whole of the douga layers. The following table shows a selection of the frames:
| Frame | A Layer Key Animation | B Layer Key Animation | A Layer Douga | B Layer Douga |
| 25 | A3 | B2 | A5 | B5 |
| 40 | A2 | B2 | A4 | B5 |
| 76 | A4 | B2 | A6 | B5 |
| 112 | A2 | B2 | A4 | B5 |
| 148 | A4 | B2 | A6 | B5 |
Final thoughts about this example:
- Good example showing how douga gets reused to mimic speaking. Cels and douga do not always correspond 1:1 nor have linear numbering.
- Good example for showing 2 timesheets.
- Sometimes reading a timesheet needs some tough love and compassion to really understand it.
So that should do it! A lot was skipped at the end, but the principles should be the same. As an exercise, you are encouraged to read through the second example to get a good feel for it.
Putting it all Together
To put it all together, here is a video showing the making of Naruto the Movie 1, narrated by Kakashi himself!
Final Thoughts
So, I hope you learned a little bit about timing sheets and the animation process. Remember that timing sheets might need to be read differently for each one. You are looking at them after-the-fact instead of as an employee of the animation company at that point in time. If it is still confusing, do not worry - much like learning a jutsu, it takes time and practice. Seek out timing sheets for your favorite series and you will be a master in no time.
Thank you!

